Before you start using the Google Map widget on your site it is important that you should first insert the map’s API key. Now you would ask why is the key important? It is required to authenticate the requests associated with the project for usage and also acts as a unique identifier for a billing account.
So lets begin with the steps of creating an Google Map API key for your project:
1. Open the link attached, and given below is the field provided for adding the key. (link here)
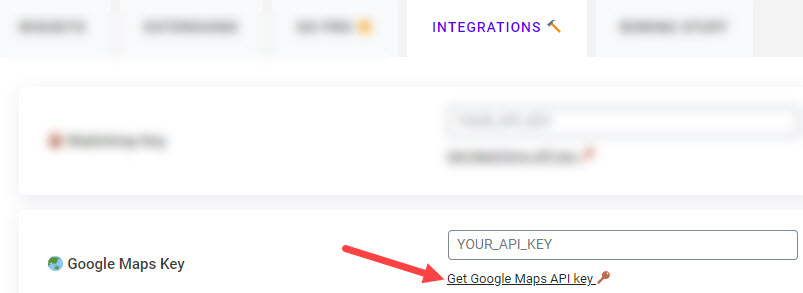
2. Go to the Project Selector page and create a new project.
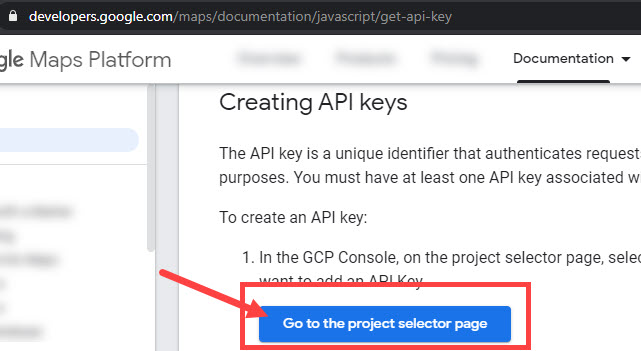
Fill in the details required.
3. After creating your project go to APIs & Services > Credentials.
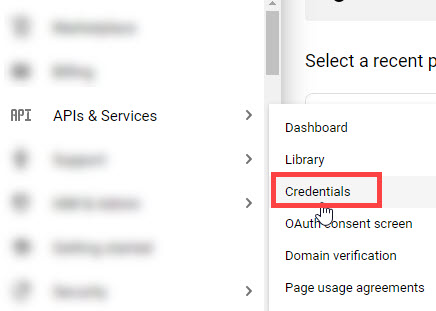

There you will see your newly created key listed on the credentials page, under API keys.
4. After creating the key go to Library.
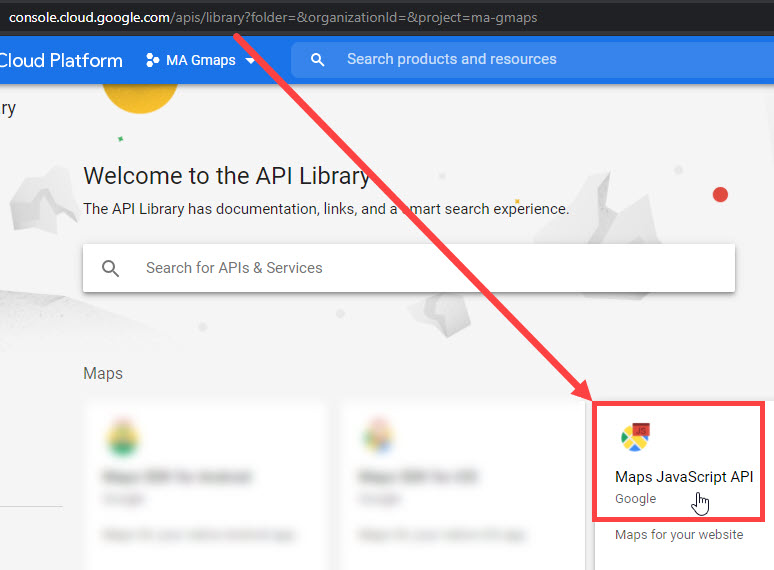
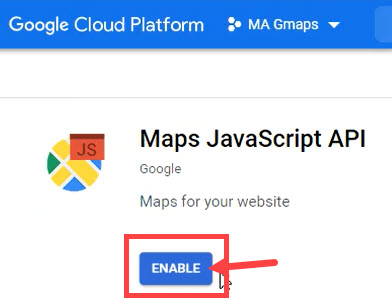
And then click on Maps JavaScript API. Here you have to enable the map API for the key to work.
5. After enabling the Maps Javascript API, enable the Places API too.
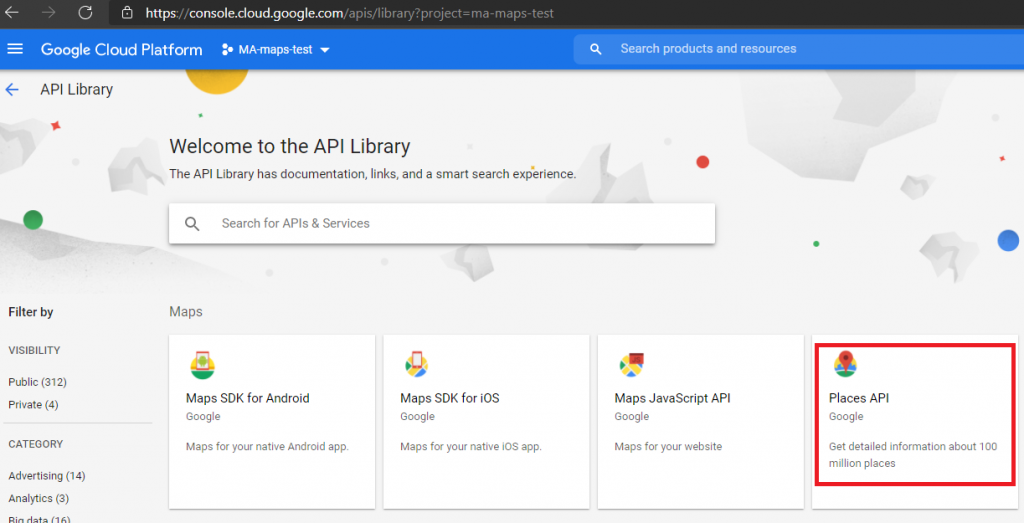
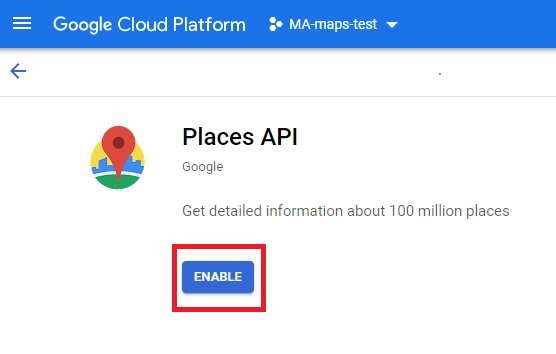
6. Copy & Paste the API Key.
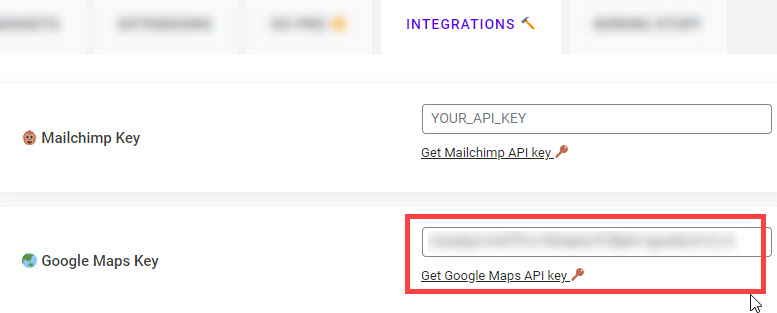
Now just copy and paste the API Key in the field provided under Integrations and you are good to go.
7. One last step, you need to enable billing on your key to use Google Maps.
Google has implemented pay-as-you-go-pricing for its product which means you need to enable billing on your account to use Google maps. You can do that by going here and read about the same here.


